English
 Español
Stainless Steel Door Handle Polishing: Process Planning and Machine Selection
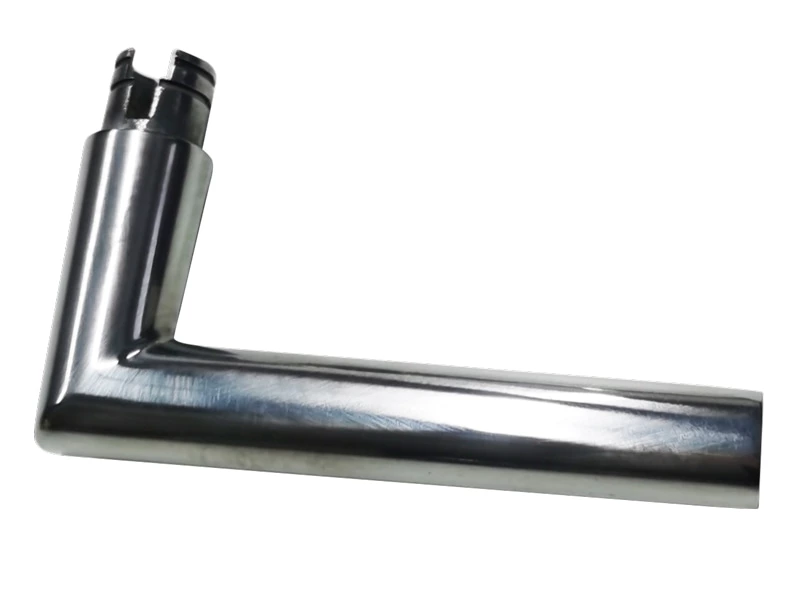
Stainless steel door handles need a consistent appearance across the grip, curved transitions and mounting end. A bright outer face can still leave an unfinished inside radius or visible marks near the base. Planning the finishing process around these individual areas helps manufacturers define what the equipment must reach and what the finished handle must look like.
For an L-shaped lever handle, the starting surface, fixture position and polishing path are closely connected. This guide explains how to turn those requirements into a practical plan for surface preparation, grinding, buffing and machine selection.
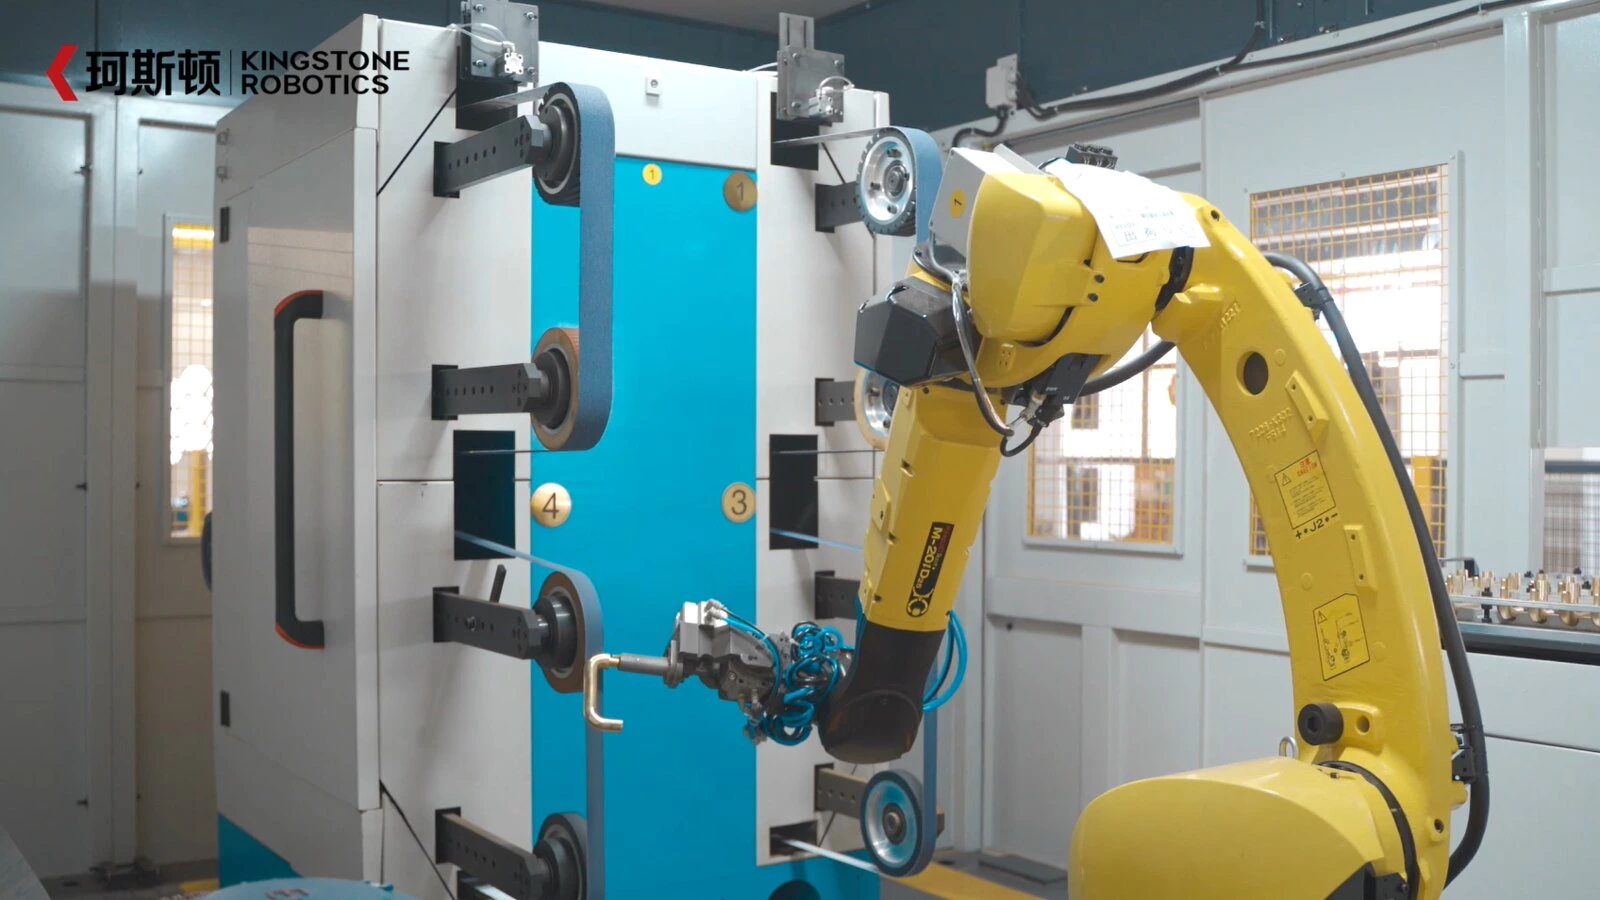
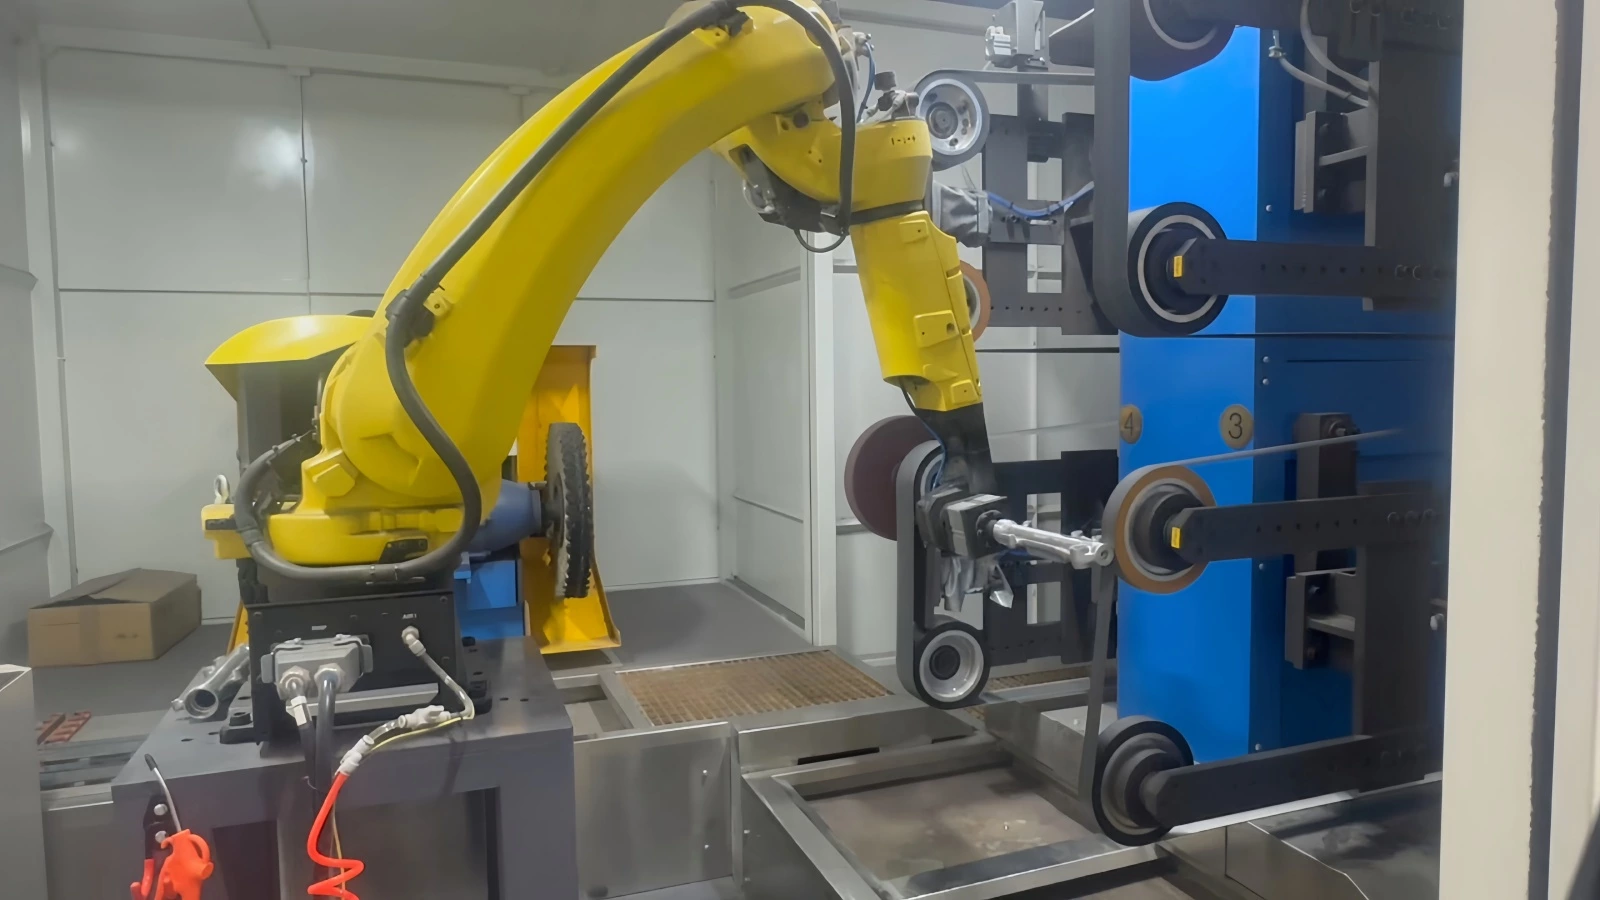
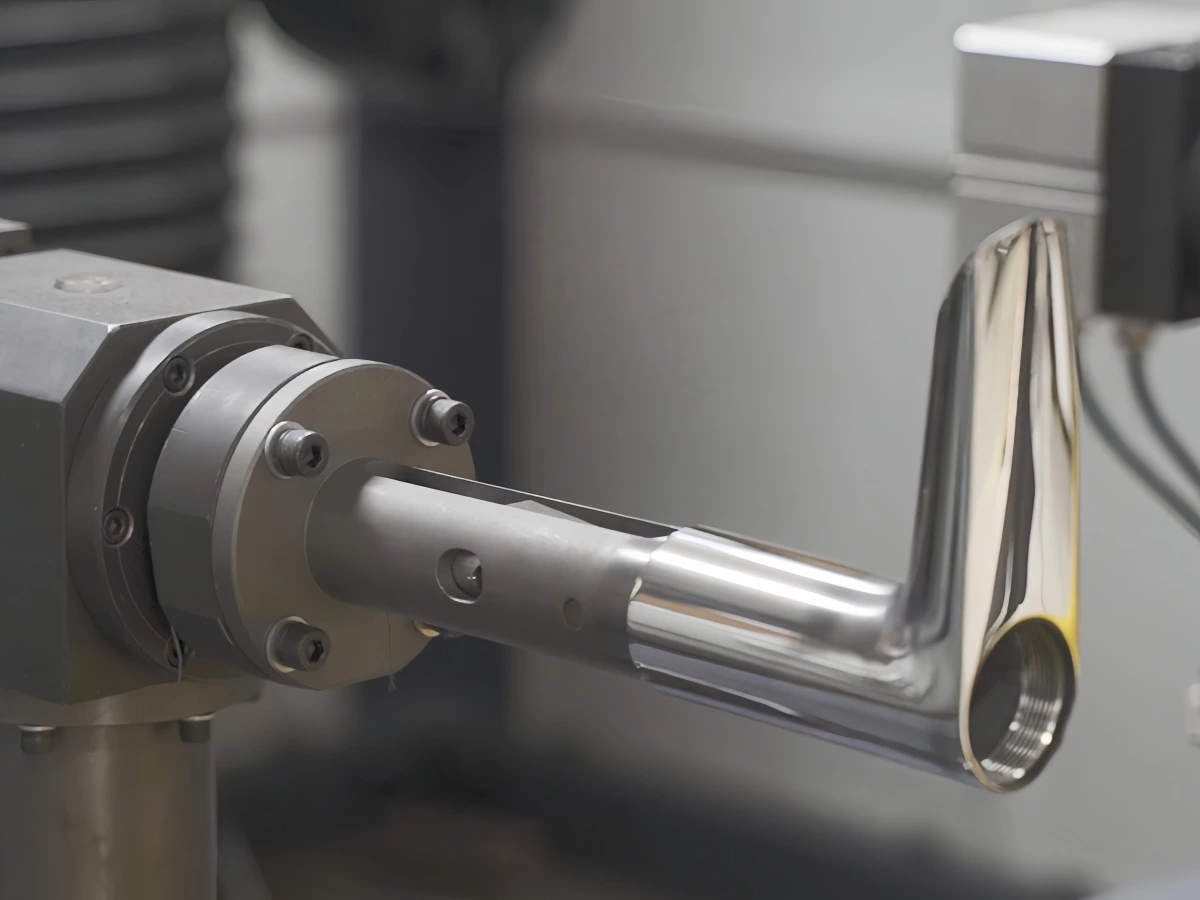
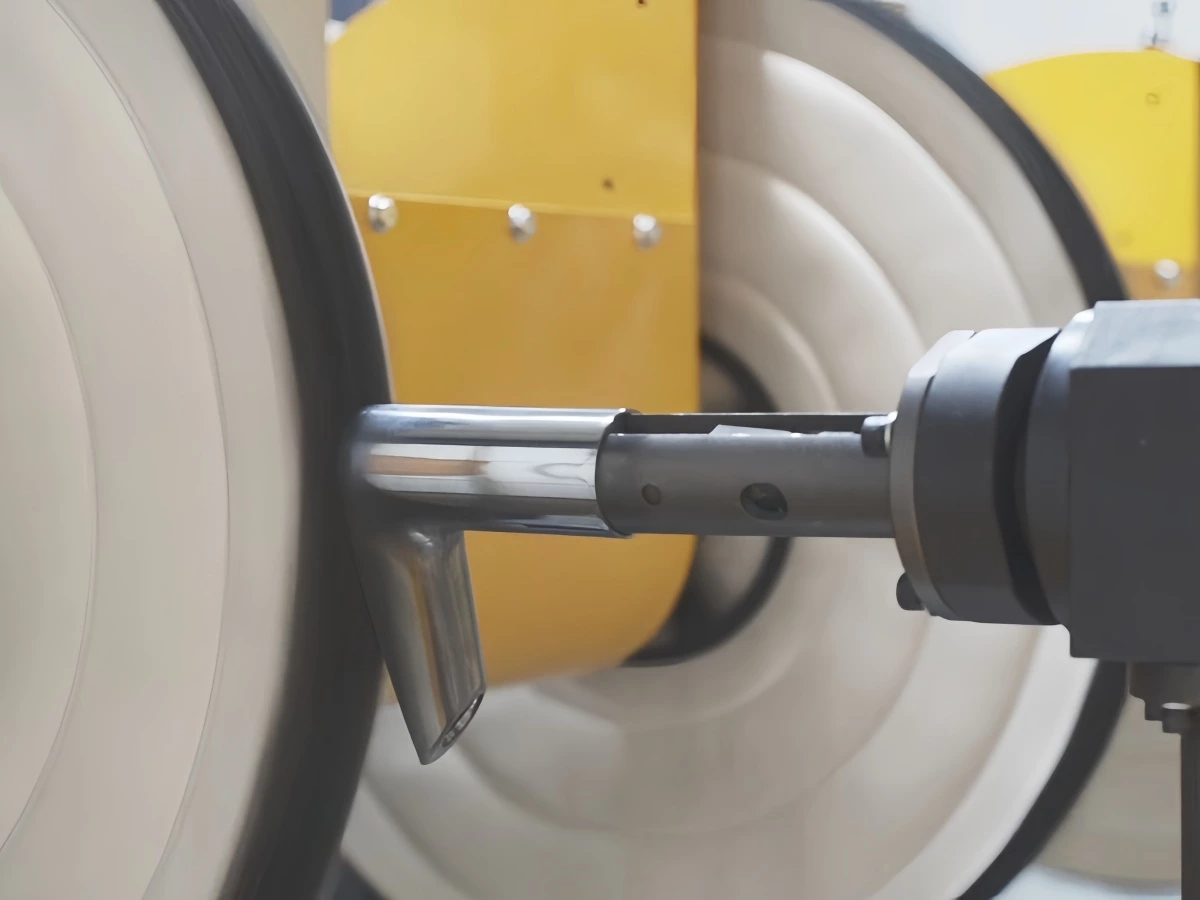
Noted: Watch the door handle polishing setup and the contact between the workpiece and polishing wheel
Define the Finish on Each Handle Surface
Begin with an approved appearance sample or clear finish requirements. Terms such as polished, satin and mirror should be supported by a reference that production and inspection teams can use.
Identify the surfaces that remain visible after installation, including the upper grip, underside, inside bend, neck and base transition. Mark mounting holes, threads and other features that must retain their specified geometry.
For a brushed handle, define the grain direction and how the pattern should continue around curved areas. For a reflective handle, assess the appearance from several viewing angles. Where roughness is specified, record the measurement locations and method alongside the visual requirements.
Check the Incoming Surface Before Choosing the Process
Two handles with the same drawing may arrive with different finishing needs. One batch may contain fine machining marks, while another may have deeper scratches or a different preparation history.
Inspect representative production parts and record:
-
Material grade, dimensions and wall thickness where applicable.
-
Casting, machining or fabrication marks on the surfaces to be finished.
-
Welds or joints, if present, and the surrounding surface condition.
-
Existing scratch direction and the areas needing further preparation.
-
Variation between samples from the same production route.
Use these observations to define the required work at each stage. Include parts representing normal production variation when evaluating the process.
Give Grinding and Buffing Separate Jobs
A finishing route may include surface correction, scratch refinement and final appearance finishing. The necessary steps depend on the incoming handle and the agreed result.
| Process stage | Purpose | What to confirm |
|---|---|---|
| Surface correction | Remove specified weld irregularities or surface defects where required | Removal limits and the handle geometry to preserve |
| Scratch refinement | Reduce marks left by earlier preparation | A surface condition suitable for the following stage |
| Final appearance finishing | Produce the specified grain or reflective appearance | The approved finish reference and inspection areas |
Choose each abrasive stage for the work it needs to complete. Excessively coarse preparation can create additional refinement work. A fine abrasive may take too long to remove deeper incoming marks.
For cloth-wheel buffing, evaluate the wheel, polishing compound and contact conditions together. Establish the sequence on representative handles before fixing the equipment layout or quoting a production rate.
Check Fixture Access Around the Lever and Mounting End
An L-shaped lever has surfaces with different approach angles. The broad grip, inside bend and neck may need different orientations during processing. The fixture must locate the handle while leaving access for the selected belt or wheel.
Review where the handle can be held without marking a visible surface. For hollow designs, assess support and clamping with the actual wall thickness. Check clearance around the fixture, mounting features and polishing tool throughout the intended path.
The mounting end may provide a useful holding location for some handle designs. Its suitability depends on the locating features, available support and surfaces being finished. Any area covered by the fixture needs a defined finishing arrangement if it is included in the appearance requirement.
Our guide to fixture design for grinding and polishing explains how locating, support and tool access affect the finishing setup.
Select the Machine Around the Complete Finishing Route
A CNC door handle polishing machine can be evaluated for repeated handle designs when its motion, fixtures and polishing heads can reach the required surfaces. Confirm how each handle is loaded, located and oriented through the cycle.
If the project includes substantial surface preparation, several handle families or areas requiring different abrasive contacts, review how those operations will be arranged. The proposal may involve separate grinding and buffing equipment or an integrated automated finishing system, depending on the workpiece and production needs.
Kingstone's stainless steel door handle polishing machine provides a CNC configuration for this application. Review its tooling and workpiece fit against the actual handle drawing, incoming condition and target finish.
Inspect the Whole Handle Under Agreed Conditions
Agree how the finished handle will be assessed before comparing machine options. Use consistent lighting, viewing distance and part orientation so that the production team can make repeatable decisions.
Inspect the grip and underside as well as the inside bend, neck and base transition. Check for remaining scratches, uneven grain, polishing bands and marks left by handling or clamping. Confirm that protected edges and mounting features retain their required condition.
For a production trial, record the cleaning procedure used before inspection. Check samples from the beginning and later stages of the planned consumable interval so that the evaluation represents the intended operating procedure.
The polishing sample testing guide outlines the information and acceptance criteria to prepare for an equipment evaluation.
Measure Output Using the Actual Production Cycle
Define the cycle being measured. Include loading, locating, polishing, unloading and any reorientation needed to finish the agreed surfaces. Account for inspection and planned interruptions for wheel care or compound replenishment.
When operations overlap across stations, measure the resulting production cycle. Compare output at the same accepted appearance standard and record how many handles require additional finishing.
Useful trial records include accepted handles per hour, operator tasks, consumable use and the steps needed when changing to another handle design. These records provide a clearer basis for reviewing a proposed configuration.
What to Send for a Door Handle Polishing Review
Prepare the following information for an initial discussion:
-
Drawings or clear photos showing the grip, bend and mounting end.
-
Material grade, dimensions and wall thickness where relevant.
-
Photos of the incoming surface and areas requiring preparation.
-
An approved finish sample or clear appearance reference.
-
Surfaces to be processed and features that must be protected.
-
Required output, handle variants and preferred loading arrangement.
Frequently Asked Questions
Does every stainless steel door handle need grinding before buffing?
The preparation depends on the incoming surface. Handles with deeper marks or specified defects may need grinding and refinement stages. Parts already prepared to a suitable condition may need a different route. Confirm the sequence using representative samples.
Can one process produce both brushed and mirror finishes?
Brushed and reflective appearances require their own process settings and acceptance references. Review the abrasive tools, wheel or compound requirements, and changeover procedure for each finish before including both in an equipment proposal.
What should be checked around the inside bend of a lever handle?
Check tool access, contact angle and clearance around the fixture. Include the inside bend in the inspection plan so that its appearance is assessed together with the grip and neck.
How is the output of an automatic door handle polishing machine confirmed?
Confirm it through a defined cycle and finish assessment using the intended handle, fixture and loading method. Record accepted output and any remaining operator tasks under the agreed production conditions.
Discuss Your Door Handle Finishing Requirements
Kingstone Robotics develops grinding and polishing automation around customer workpieces and production requirements. Send your stainless steel door handle drawing, incoming surface photos and finish reference to discuss the preparation steps, workholding and suitable equipment configuration.
Email: kingstonerobot@chinamakeco.com
WhatsApp: +86 15159875082