English
 Español
Robotic Polishing Sample Testing: What to Prepare and How to Evaluate Results
A robotic polishing sample test helps establish whether a proposed finishing process can meet the requirements of a particular part. It should connect the incoming workpiece condition, the processing method and the inspection result. A visually attractive sample is useful, but a production decision also needs evidence about consistency, dimensions and processing time.
For manufacturers considering a robotic grinding and polishing system, the most useful trial starts with representative parts and agreed acceptance criteria. This guide explains what to prepare, what to inspect and how to use the findings when planning the next stage of automation.
1. Define the Decision the Trial Must Support
Before sending samples, explain what you need to learn. An early feasibility trial may explore which abrasive sequence can produce an acceptable finish. A later trial may examine whether that sequence remains effective across different incoming parts.
Write a short test objective that names the component, the surfaces to be processed and the required outcome. For example, a manufacturer might need to remove visible grinding marks from an external surface while preserving a nearby sealing face. Another project may focus on consistent blending along a casting parting line.
Identify any operations outside the test scope. If some areas still require manual finishing, the report should make that clear so they remain visible in the production plan.
2. Prepare Representative Parts and Supporting Information
Select samples from the condition in which they will actually enter the robotic cell. If production parts normally arrive after trimming or machining, provide samples from that same stage.
Include the normal variation the process will encounter. Where relevant, label parts by batch, mold cavity or product revision. Identify unusual defects separately so that the trial does not confuse acceptable incoming variation with parts that should already have been rejected.
The sample package should include:
-
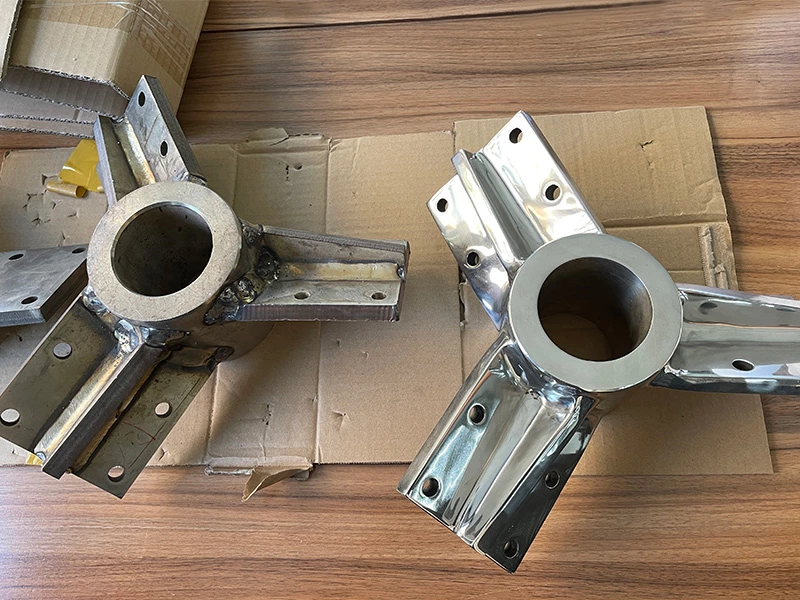
Unprocessed parts representing the agreed incoming condition.
-
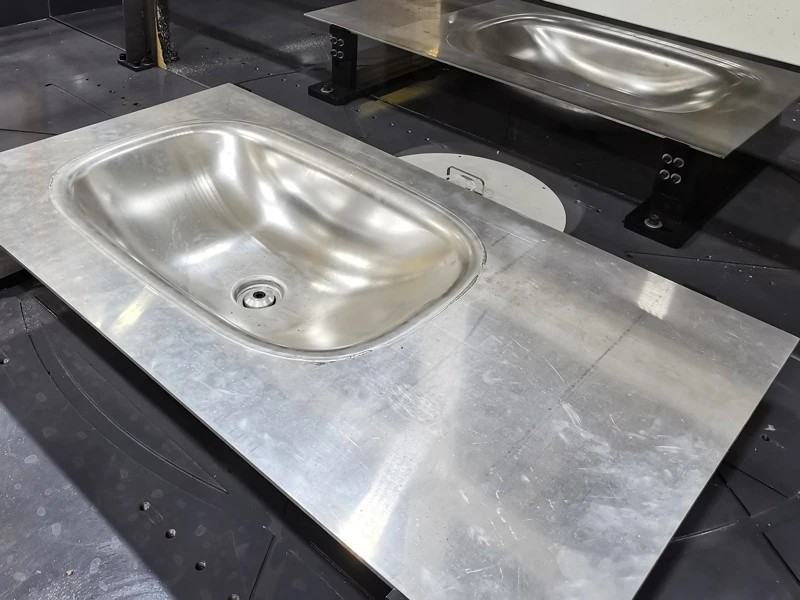
An approved finished reference, if available, clearly separated from trial parts.
-
Drawings or 3D files with the correct revision.
-
Material grade, dimensions and workpiece weight.
-
Marked photographs showing treatment areas and surfaces to protect.
-
Current processing steps, observed processing times and output requirements.
-
Relevant downstream requirements, such as coating, plating or assembly.
Agree the sample quantity with the supplier before shipping. Allow for process development, repeat runs and any inspection that consumes or alters a part. There is no universal sample count that proves every polishing application.
3. Agree How the Finished Parts Will Be Accepted
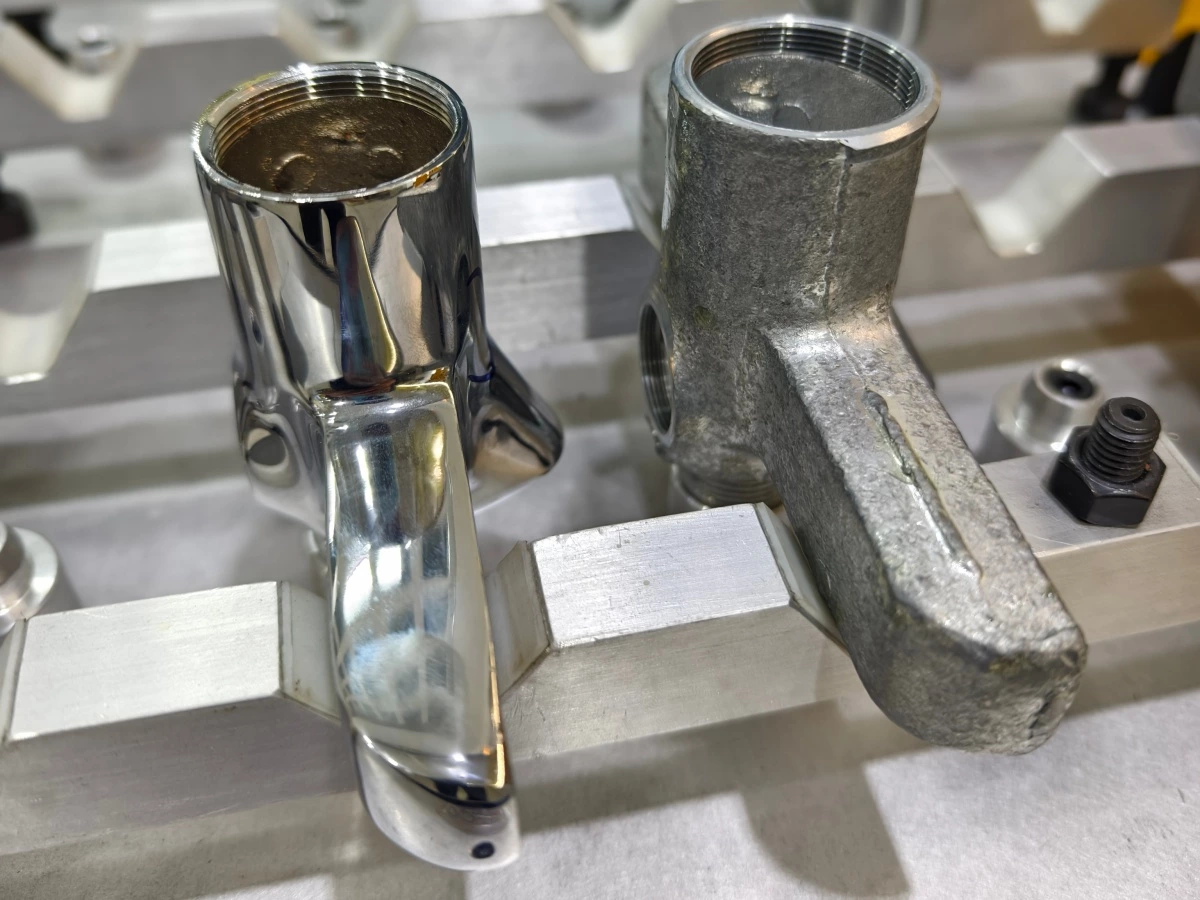
Descriptions such as “smooth” or “mirror finish” need an agreed inspection method. A photograph can communicate an expectation, but lighting and viewing angle can hide scratches or exaggerate gloss.
Use the drawing and quality requirements to build a short acceptance checklist.
| Quality item | What to specify before the trial |
|---|---|
| Appearance | Reference finish, inspection areas, viewing conditions and unacceptable marks |
| Surface texture | Required parameters, limits, measurement locations and measurement settings |
| Dimensions | Features to measure before and after processing, with allowable change |
| Edges and contours | Required edge condition and areas where rounding or shape change is unacceptable |
| Protected features | Sealing faces, threads, locating surfaces or other areas outside the finishing scope |
| Downstream result | Any coating, plating or assembly checks required before final approval |
If surface roughness is specified, agree how measurements will be taken, including the relevant filtering and evaluation settings. An Ra value alone does not describe every local defect or establish visual acceptance. Pair the required measurements with inspection of the surfaces and features that matter to the product.
For a part that will be plated or coated, identify whether trial approval is provisional until representative samples have passed through that downstream process.
4. Record the Process Used to Produce Each Result
The result should be traceable to a process setup. Give each sample an identifier and keep its photographs and inspection results together with the relevant trial settings.
Useful records include the abrasive product and grade, processing sequence, tool speed, contact-force setting, robot path version and number of passes. Also identify the fixture and loading orientation.
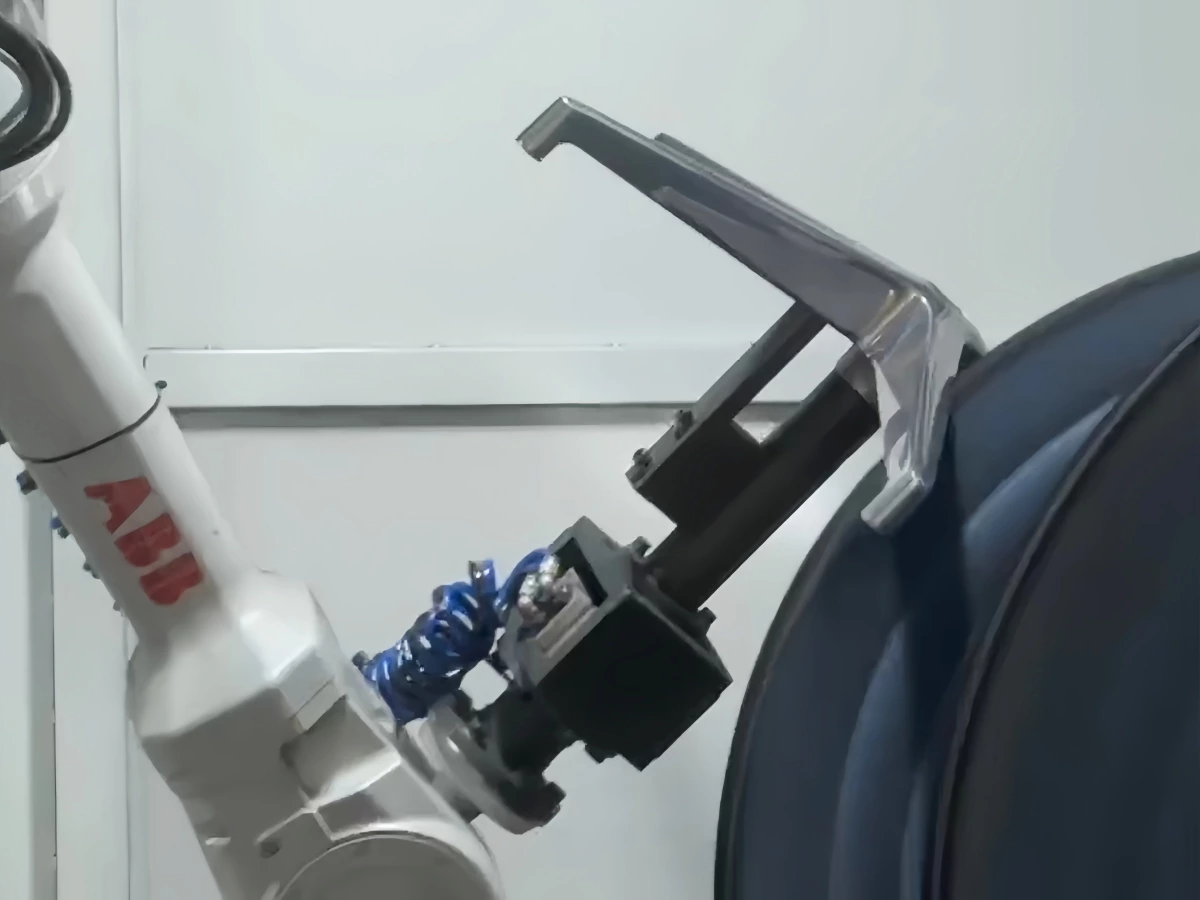
During development, change settings in a way that allows the effect of each adjustment to be understood. Once a candidate process is selected, run a repeat series without individual hand correction unless that correction is an explicitly recorded part of the proposed process.
Workholding deserves particular attention. A sample must remain supported and accessible during the operation. If the trial uses a temporary fixture, document what will change in the production design and what needs to be tested again. Our guide to fixture design for robotic grinding and polishing explains this part of the process in more detail.
5. Check Consistency Across Parts and Abrasive Condition
Inspect all parts in the agreed repeat series. Record which passed, which failed and where any defects occurred. Keeping the unsuccessful results helps reveal whether a problem follows a particular incoming condition, loading position or processing area.
Abrasive condition also matters. A process demonstrated only with a fresh belt or wheel provides limited evidence about performance later in its working life. Where the test scope and available samples permit, compare results at different stages of abrasive use and document any permitted compensation.
If the trial does not cover enough use to establish tool life, mark tool life as unverified. Do not convert a brief demonstration into a production replacement interval without supporting data.
Tool-wear compensation and force control help explain why repeated robot motion can still produce changing finishing results. A repeat series supports the next engineering decision; the size and scope of that series determine how much confidence it provides.
6. Separate Polishing Time from Production Output
A video may show the abrasive touching the part for only part of the working cycle. Before comparing a trial with the existing process, clarify exactly what the reported time includes.
Distinguish between:
-
Contact time: time spent actively grinding or polishing.
-
Complete cell cycle: the defined operating cycle, including relevant handling, clamping, movement and tool changes.
-
Sustained output: accepted parts produced over an agreed period, including the effect of routine interruptions and rejected parts.
For a cell with overlapping stations, examine the time between completed parts and the station that limits output. Adding every individual task duration may not describe the actual production rate.
Ask the report to label timings as measured, simulated or estimated. Include any manual touch-up in the process comparison. A laboratory setup can provide useful timing evidence, but production output should be confirmed using the intended loading arrangement, process sequence and operating conditions.
7. Request a Report That Supports the Next Decision
A practical trial report should make it possible for production, quality and engineering teams to review the same evidence. Request:
-
The objective, scope and identification of the tested samples.
-
Before-and-after photographs under comparable conditions.
-
Inspection results linked to each sample and its acceptance criteria.
-
The selected process sequence and relevant setup information.
-
Timing records with clear start and finish points.
-
Rejected results, manual interventions and remaining limitations.
-
Proposed changes and the work still required before production approval.
Use the report to agree a next step: proceed with system design, run another trial, revise the incoming-part requirements or reconsider the process. Agree a separate acceptance plan for the completed equipment and its operation at the production site.
For the wider equipment discussion, review our robotic polishing system evaluation guide, which covers additional purchasing and integration considerations.
Frequently Asked Questions
How many parts should we send for robotic polishing sample testing?
Agree the quantity after reviewing part variation, the number of candidate processes and the planned repeat testing. Include enough parts for development and inspection. A single successful sample can show a possible result, but it cannot establish consistency across production.
Can drawings and photographs replace physical samples?
They support an initial review of geometry, access and requirements. Physical samples allow the trial to examine the actual incoming surface and its response to the selected tools. Confirm what each stage of the assessment can establish.
Is a low Ra value enough to approve a polished part?
Approval should follow the complete product requirements. If appearance, isolated scratches, edges or dimensions matter, inspect those as well. Record the measurement method so that the supplier and customer can compare roughness results meaningfully.
What if the sample looks good but the process is too slow?
Review where time is spent and whether the proposed sequence includes unnecessary treatment. Any change to abrasives, passes, handling or station layout should be checked against the same quality criteria before the revised timing is accepted.
Does a successful sample test guarantee production performance?
A sample test establishes results within its documented scope. The completed system still needs validation for the agreed part range, loading method, tooling, operating sequence and output requirements. Carry the trial findings into that acceptance plan.
Discuss Your Robotic Polishing Application with Kingstone
Kingstone Robotics develops customized robotic grinding, polishing and deburring systems. To begin a project discussion, share your part drawing or photographs, material, incoming condition, required finish and production target.
Contact Kingstone Robotics to discuss your application and the scope of a suitable process evaluation. Before sending physical samples, confirm the sample selection, quantity, delivery details and expected test deliverables with the team.