English
 Español
Robotic Belt Grinding for Metal Parts: Applications and Process Planning
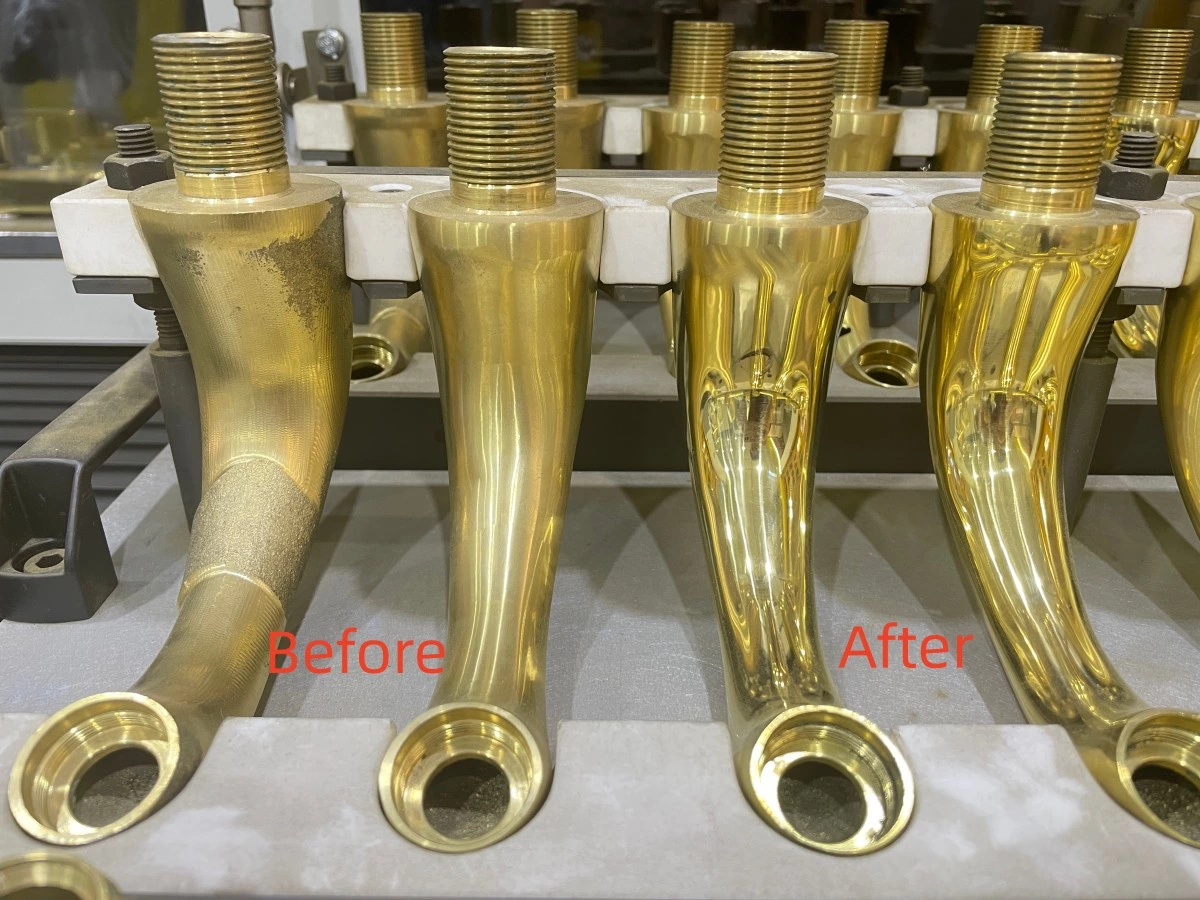
Metal parts often need grinding before polishing, coating or assembly. Cast handles may have visible parting lines, fabricated components may need weld blending, and decorative hardware may require a more uniform surface. When these tasks repeat across a production batch, robotic belt grinding can help control how the abrasive contacts each workpiece.
A successful system combines suitable abrasives, stable workholding and a defined grinding sequence. The starting surface and required finish determine the process. This guide explains where robotic belt grinding fits, how different contact methods work, and what manufacturers should establish before specifying a cell.
What Is Robotic Belt Grinding
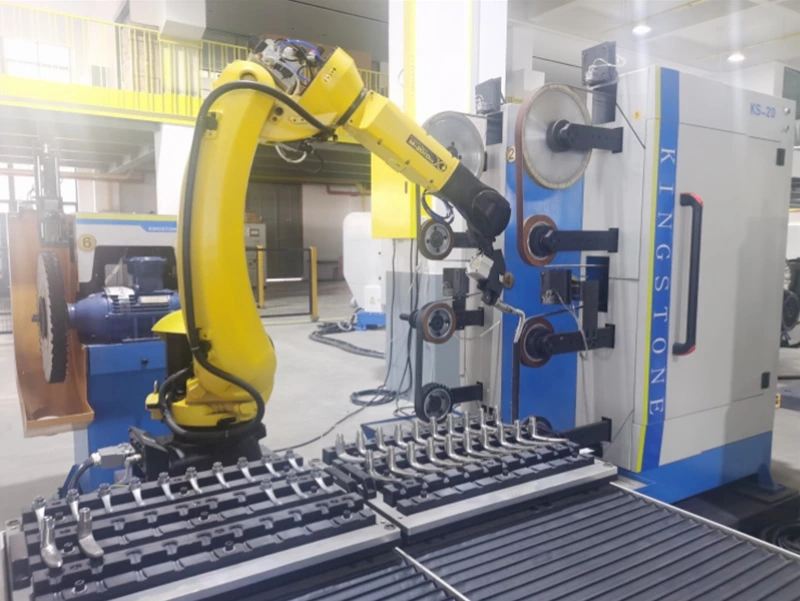
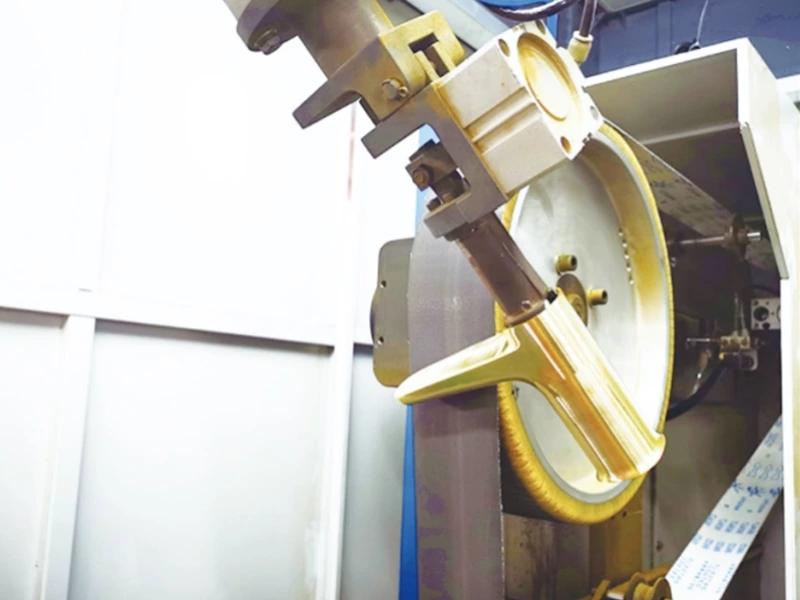
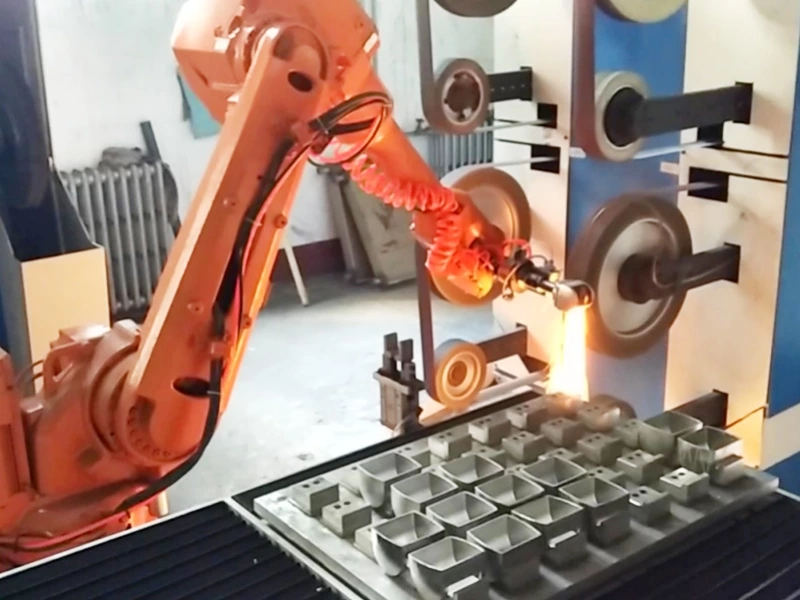
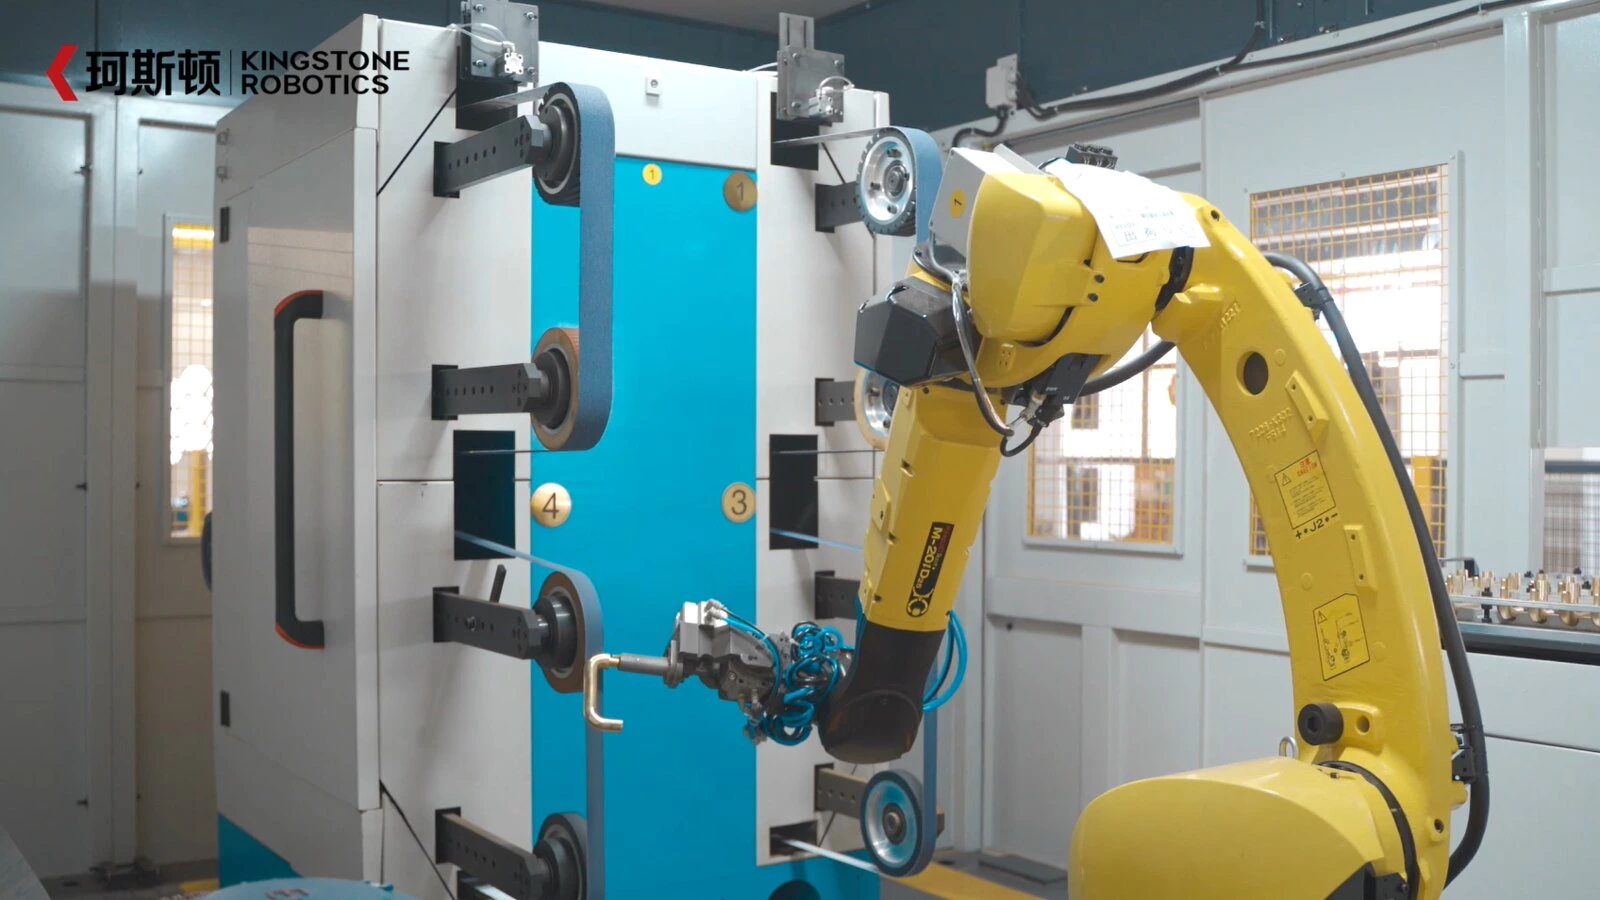
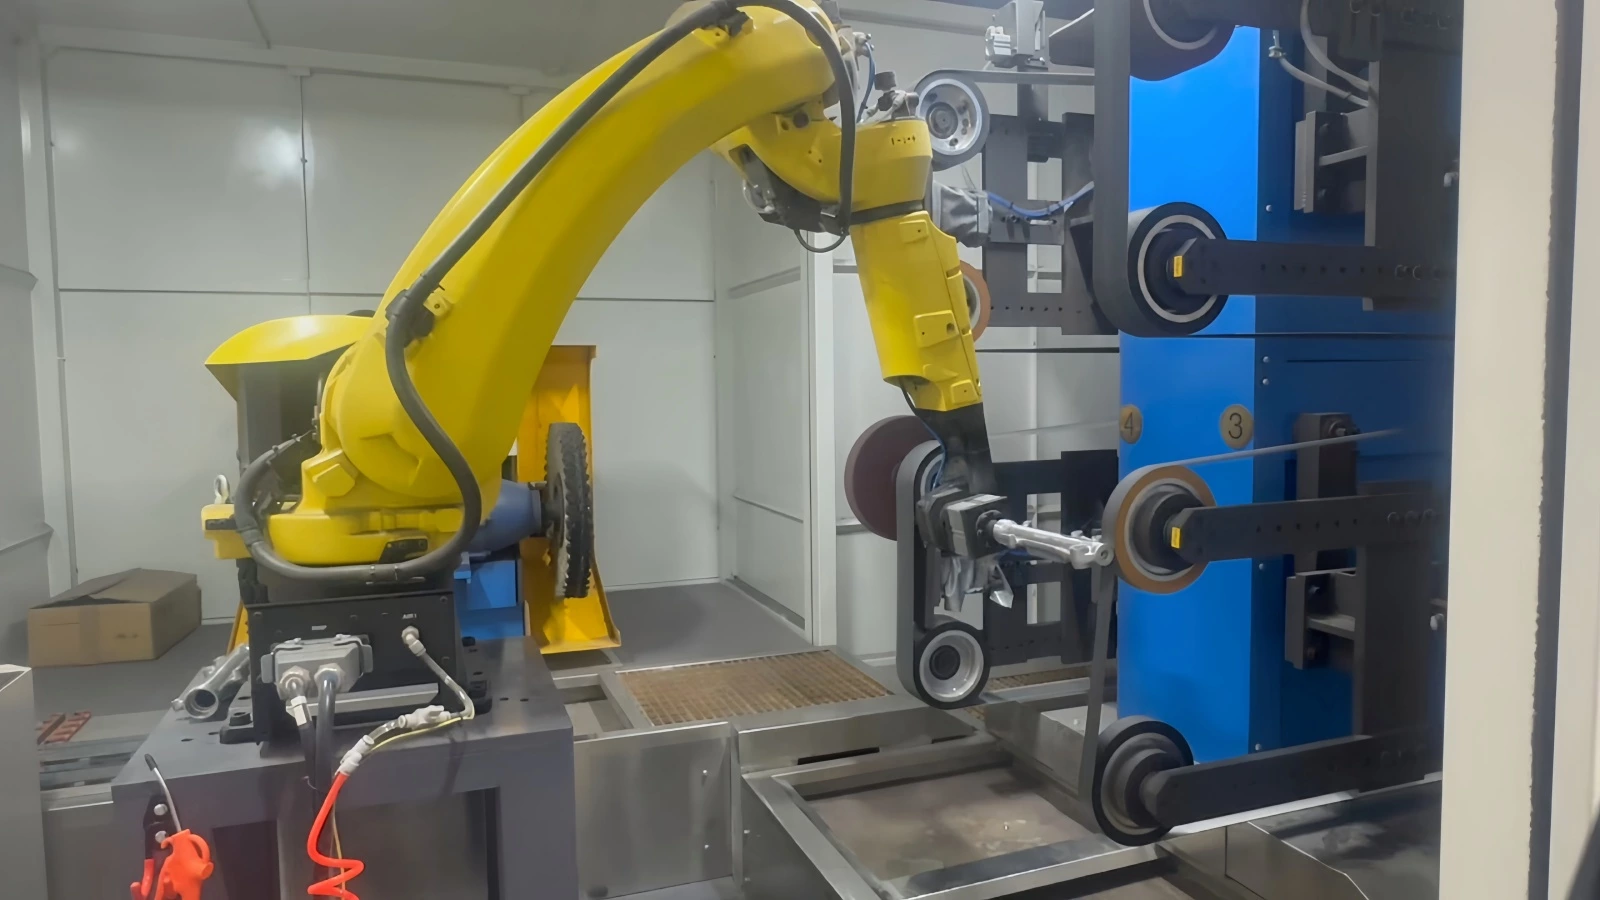
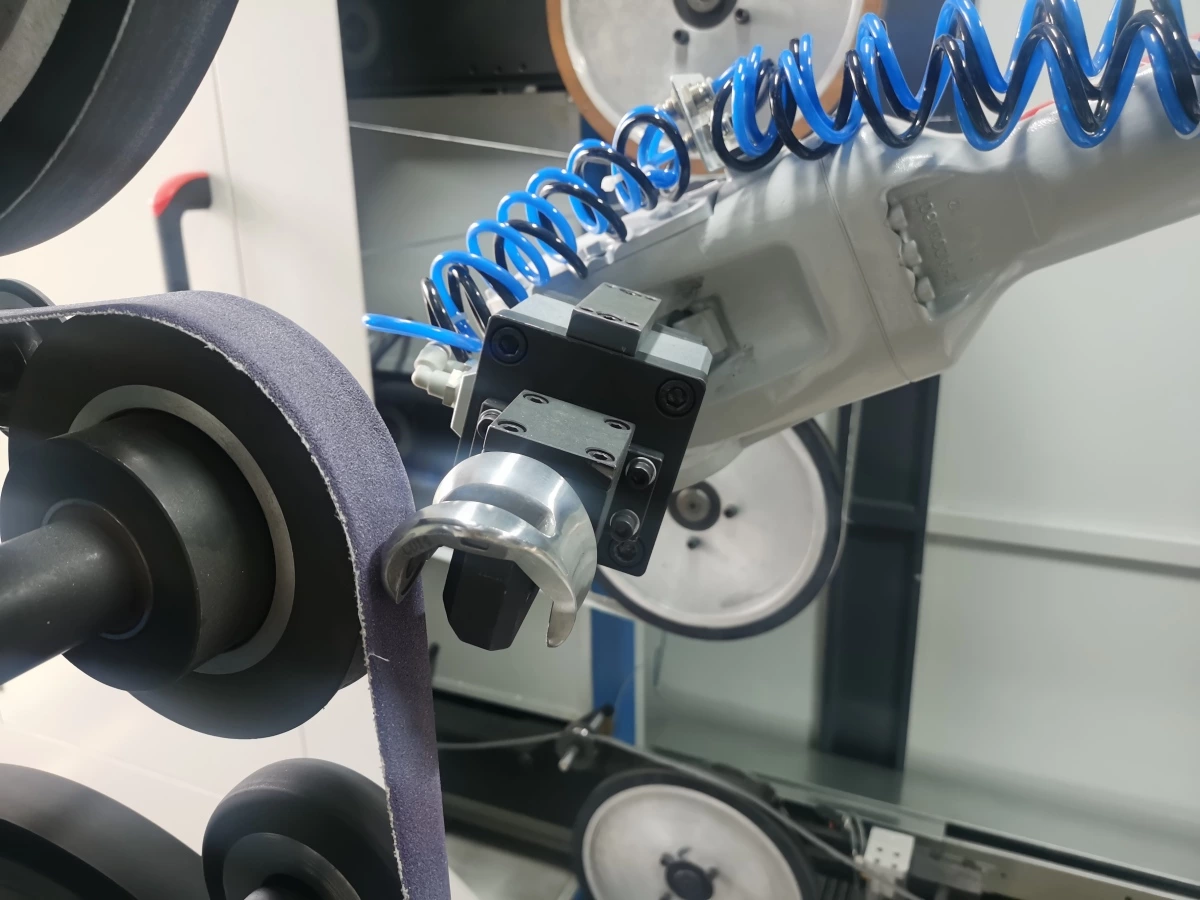
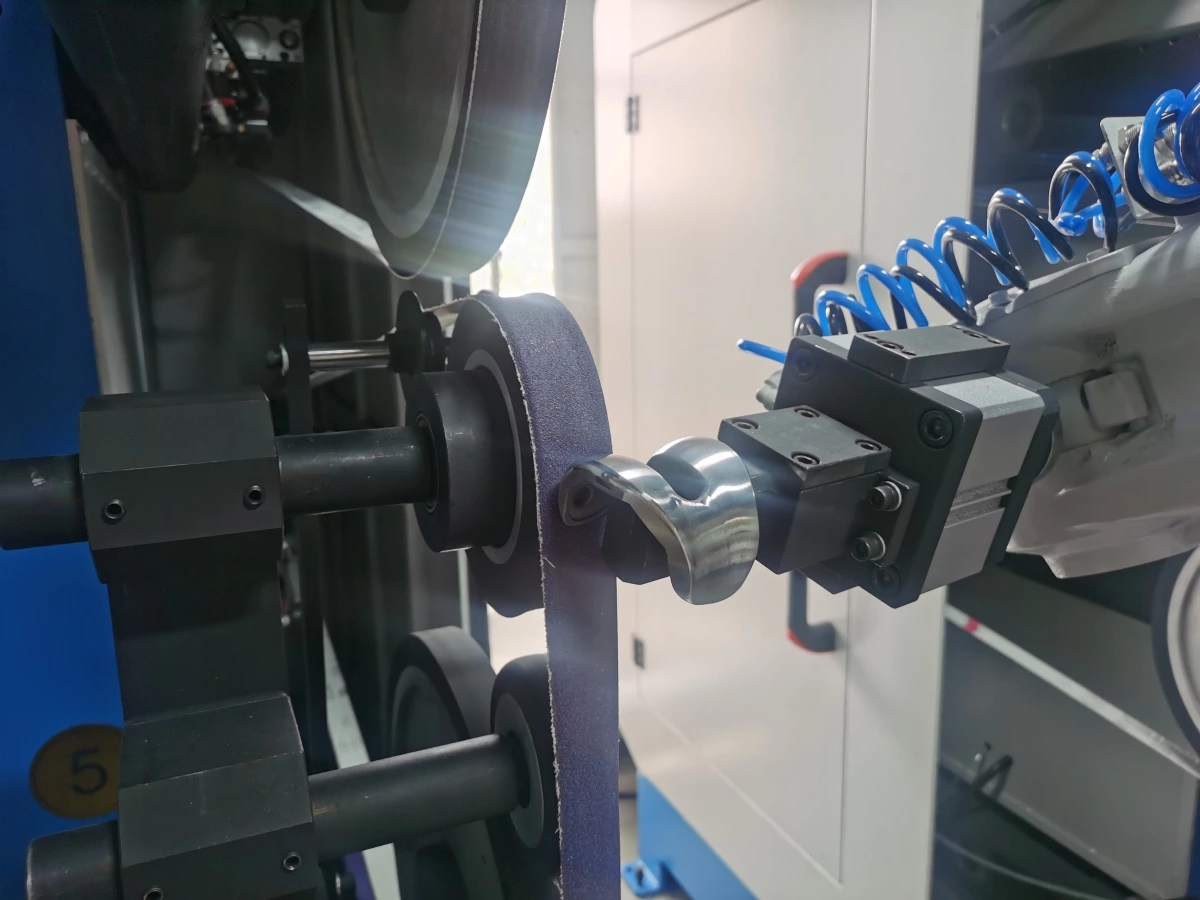
Robotic belt grinding uses an industrial robot and a powered abrasive belt to remove material from a workpiece. In one common arrangement, the robot holds the part and presents selected surfaces to a stationary belt grinder. Another arrangement places the grinding tool on the robot and secures the workpiece in a fixture.
The belt removes material while the robot controls the contact path and the angle between the belt and workpiece. Depending on the abrasive and supporting equipment, the operation may remove casting irregularities, blend surface transitions or prepare a part for finer finishing.
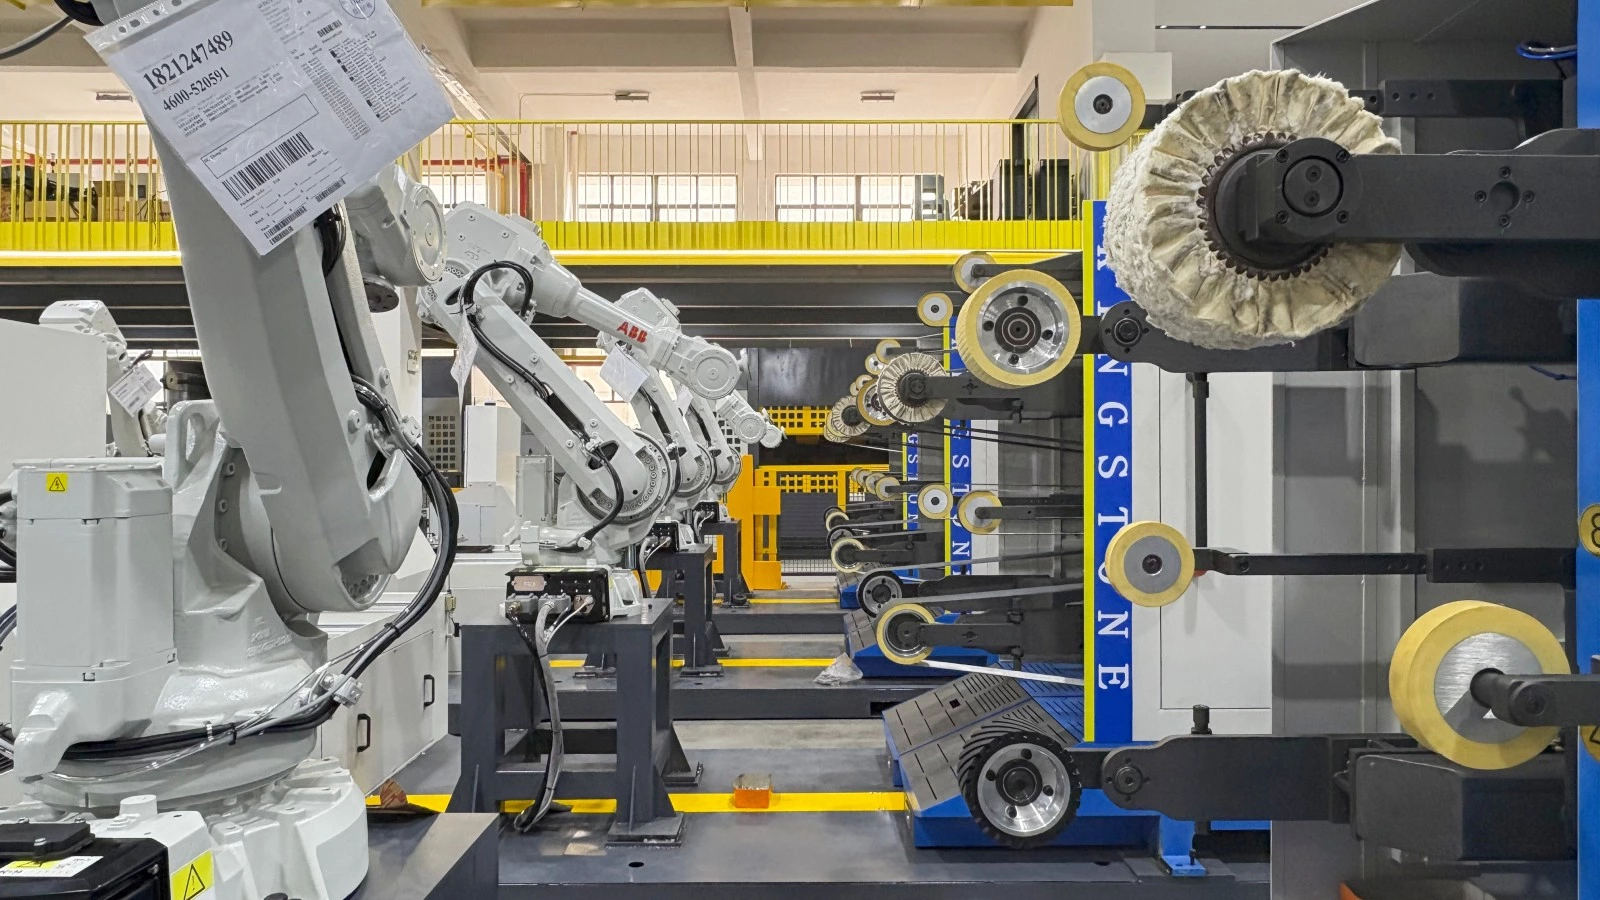
A robotic belt grinding machine can use several abrasive stations when the part needs successive grinding stages. Kingstone’s robotic grinding solutions include belt sanding configurations for metal components.
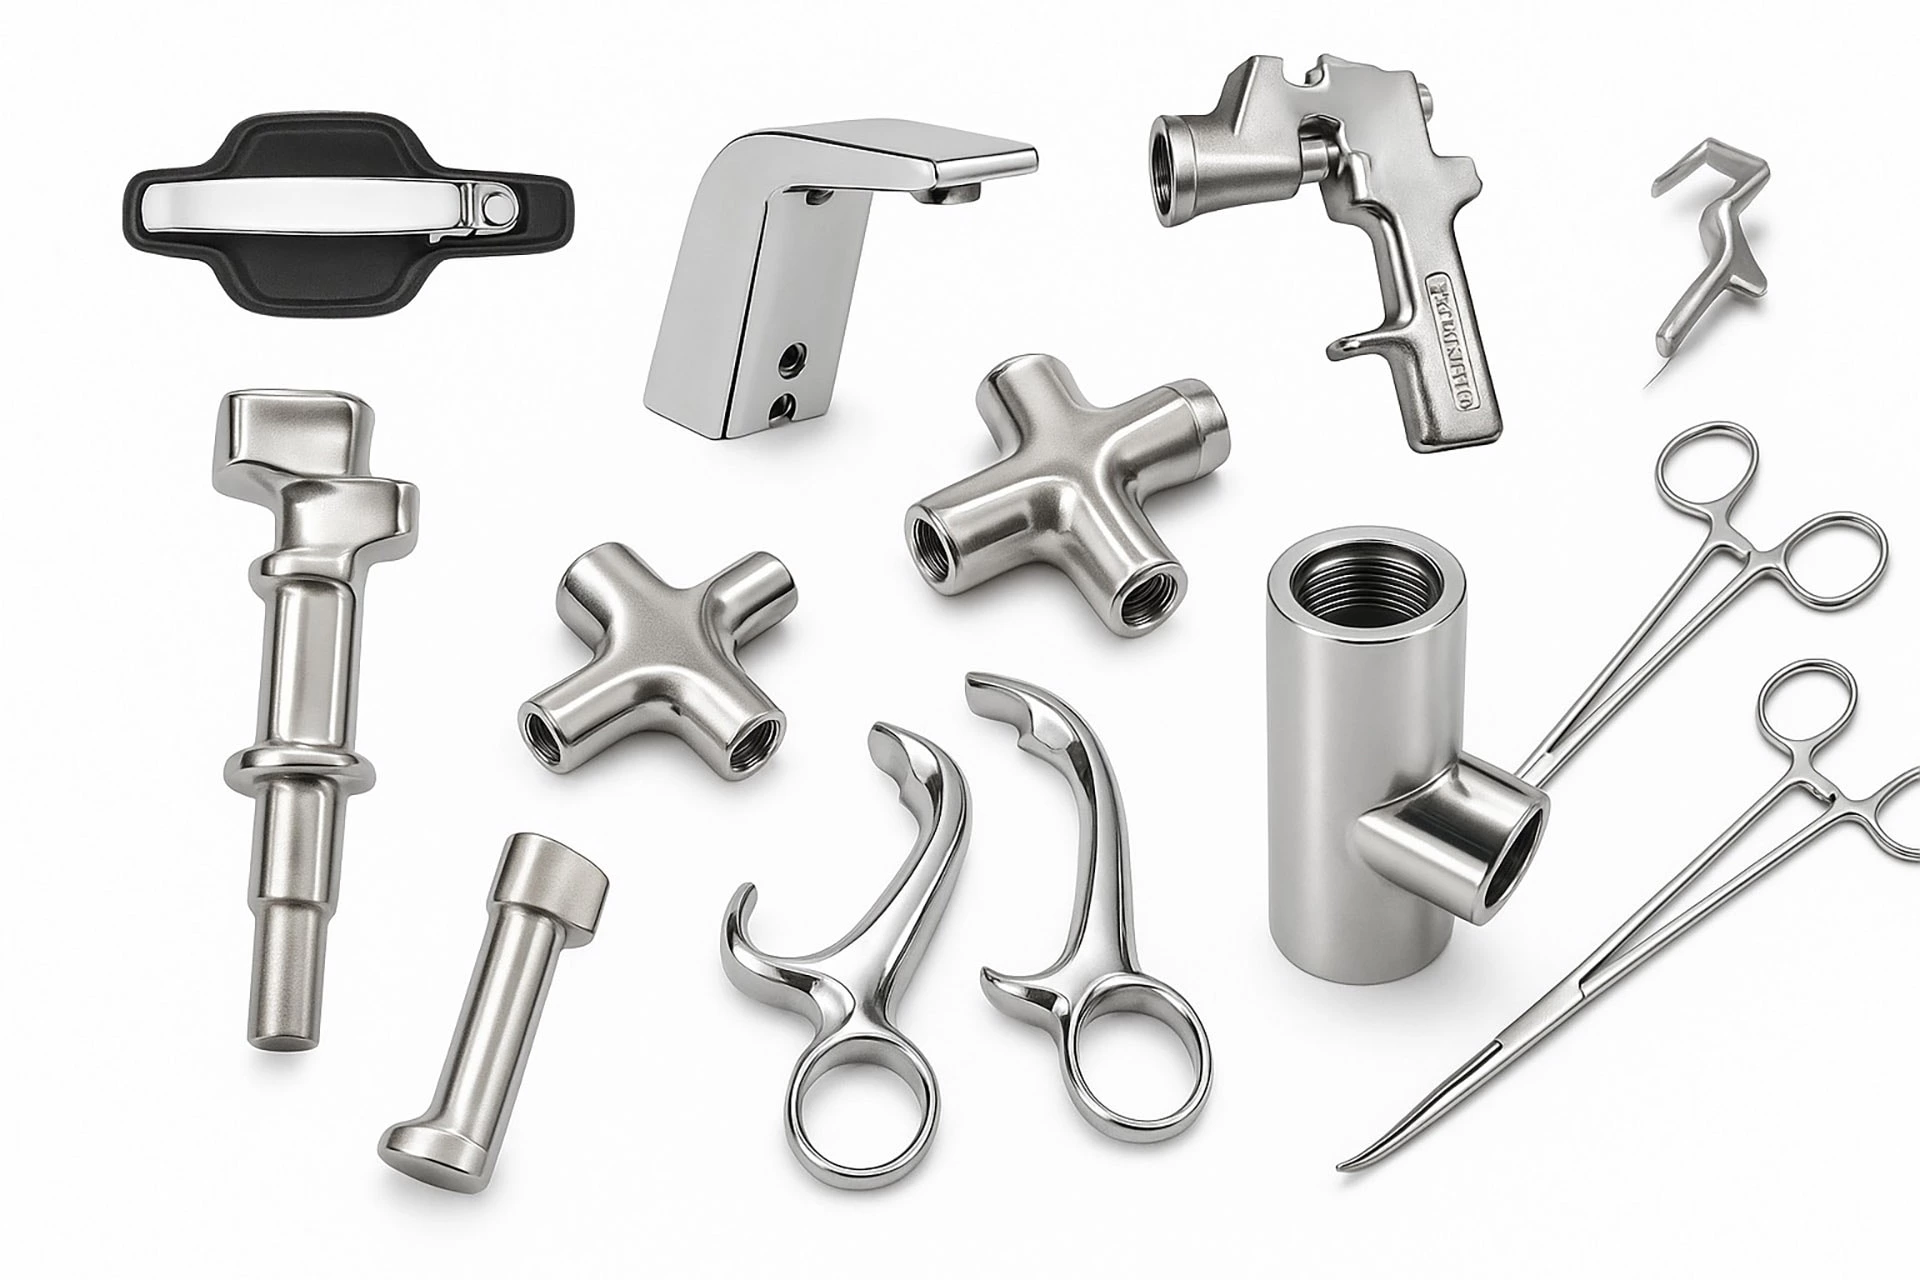
Which Metal Parts Are Suitable
Good candidates have accessible surfaces, secure clamping locations and reasonably consistent incoming conditions. The following applications are useful starting points for a feasibility review.
| Part or application | Potential belt grinding task | What to check |
|---|---|---|
| Brass faucet bodies and handles | Blend parting lines and refine external contours | Protect sealing areas, threads and decorative edges |
| Stainless steel hardware | Blend welds or refine visible surfaces | Control heat, scratch direction and contamination |
| Aluminum cast components | Remove accessible light flash and blend transitions | Limit belt loading and preserve thin sections |
| Door and furniture hardware | Refine curved faces and prepare for polishing | Confirm tool access around returns and recesses |
| Metal tools and fabricated parts | Remove accessible surface irregularities | Define removal limits and required edge geometry |
Material selection affects the abrasive specification. Aluminum and other soft metals can load an unsuitable belt with removed material. Stainless steel finishing also requires controls to prevent iron contamination from tools or abrasives previously used on carbon steel.
Deep internal passages, inaccessible corners or parts with large casting variations may need different tools or additional operations. Suitability should be checked against the actual part geometry.
Choosing the Belt Contact Method
The support behind the abrasive belt changes how it contacts the workpiece. Three common methods are contact wheel grinding, platen grinding and slack belt finishing. A cell may use more than one method.
| Contact method | How the belt is supported | Typical process role |
|---|---|---|
| Contact wheel | The belt runs over a wheel at the contact point | Localized material removal, contour grinding and blending |
| Platen | A flat backing supports the belt | Grinding accessible flat faces with supported contact |
| Slack belt | Contact takes place on an unsupported belt span | Conforming to selected curved surfaces and refining transitions |
For contact wheel grinding, wheel diameter, hardness and surface design influence the contact area and cutting behavior. A softer wheel generally follows contours more readily; a harder wheel can support more aggressive removal.
Slack belt contact can follow curves, but it can also round edges that need to remain defined. Choose the contact method around the required geometry, then confirm the result through trials.
How to Plan the Grinding Sequence
Start by defining the condition the part must reach after belt grinding. A surface prepared for coating may need a different texture from a part that will receive decorative buffing.
Where several stages are needed, the sequence normally begins with removing the specified surface defects, continues with blending the resulting grinding marks, and finishes with the texture required for the next operation. Each stage should have a clear purpose.
A finer abrasive must be able to remove the scratch pattern left by the previous stage within the available processing time. Starting too aggressively can create extra finishing work. Starting too fine can make initial defect removal unnecessarily slow.
Select grit progression, abrasive construction and backing flexibility together. There is no single belt sequence for every brass, stainless steel or aluminum part. Verify the sequence on representative production samples before fixing the equipment layout.
When the finished product needs a highly reflective appearance, assess the complete grinding and polishing sequence. Kingstone’s robotic grinding and polishing solutions cover projects that require more than one finishing operation.
Process Variables That Control the Result
Contact force and contact area
The same applied force can produce different grinding pressure when the contact area changes. A narrow edge and a broad face therefore need separate evaluation. Suitable compliance or force control can help accommodate variation, but the required removal limit must still be established.
Belt speed and robot travel speed
Belt speed controls abrasive surface movement; robot travel speed controls how long a region stays in contact. These settings work together with abrasive type and force. Increasing speed or pressure without checking the surface can introduce heat, uneven removal or a coarser scratch pattern.
Tool angle and path overlap
The contact angle determines which features the belt reaches. On a broad surface, adjacent passes need enough overlap to avoid visible bands. At edges, holes and thin sections, the path must preserve the specified shape and dimensions.
Abrasive condition
As a belt wears or loads, its cutting behavior changes. Establish replacement criteria using observed finish quality, removal performance and processing time. Check results with both fresh belts and belts approaching the planned replacement point.
Designing the Cell Around the Workpiece
Part size and handling requirements help determine the arrangement. Presenting a robot-held part to a stationary grinder is useful when the robot can grip and orient it securely. For larger or heavier workpieces, a robot-mounted tool may offer a more practical approach, subject to reach and access checks.
Robot selection must account for the gripper or tool, workpiece mass, center of gravity and process loads. Fixture design should support the part against grinding forces while keeping the target surfaces accessible.
The layout also needs space for loading, belt replacement, inspection and maintenance. Plan guarding, extraction and collection around the material and grinding process. Wet and dry processing require equipment suited to the chosen method.
A complete cell specification should identify which tasks remain with the operator, including loading, inspection and consumable replacement.
Evaluating Output and Consumable Cost
Assess output using the complete production cycle. Include loading and unloading, movement between stations, grinding passes, inspection and expected interruptions for consumable changes. Where tasks overlap, measure the resulting cell cycle rather than adding every task time.
Compare alternatives at the same accepted surface quality. Useful measures include accepted parts per hour, abrasive cost per accepted part, operator time and rework. A cheaper belt may cost more overall if it needs frequent replacement or leaves more finishing work.
Before approving a configuration, agree on inspection areas, acceptable appearance and relevant dimensional or roughness limits. Kingstone’s robotic polishing sample testing guide explains how to prepare samples and review finishing results.
Planning a Kingstone Robotic Belt Grinding Project
Kingstone Robotics provides automation solutions for metal grinding, polishing and deburring. For a belt grinding project, the starting point is the workpiece and the surface condition required after processing.
Send the following information for an initial review:
- Part photographs, drawings or a 3D model, including material and approximate weight.
- Images showing the current surface defects and the areas to be processed.
- A reference sample or clear description of the required finish.
- Features and dimensions that must be protected.
- Required output, shift pattern and number of part models.
- Available floor space and preferred loading method.
This information helps define the process scope, suitable belt contact methods and sample testing requirements.
Contact Kingstone Robotics to discuss a robotic belt grinding solution for your metal parts.
Email: kingstonerobot@chinamakeco.com
WhatsApp: +86 15159875082
Frequently Asked Questions
What is the difference between robotic belt grinding and belt polishing
Belt grinding generally focuses on material removal and surface preparation. Belt polishing usually describes a finer finishing stage. The abrasive, contact method and required result determine the actual process.
Can robotic belt grinding process curved metal parts
Yes, accessible curved surfaces can be candidates when the robot, belt support and fixture allow controlled contact. Tight internal radii and deep recesses may require other tools.
Can the same belt specification process brass and stainless steel
Some abrasives cover several materials, but one specification should not be assumed to give the required result on every alloy. Review belt loading, cutting behavior and contamination controls for each material.
Can belt grinding produce a mirror finish
Fine abrasive belts can refine a surface, but a specified mirror appearance may require additional polishing or buffing. Confirm the full sequence against an approved finish sample.
How many abrasive stations does a robotic grinding cell need
The number depends on the incoming defects, required finish and production target. Confirm which abrasive stages are necessary before selecting the station count.
How is abrasive belt life determined
Belt life depends on the material, abrasive specification, contact conditions and required finish. Establish a replacement point through production trials and check accepted part quality throughout that interval.